Are you looking forward to remove background from logo? Well, the removal of the background from a logo is one important step in approaching a clean and professional look with regards to branding. By eliminating its background, you can give your logo more versatility as it allows it to seamlessly fit into various designs and mediums. In this detailed guide, we will embark upon the journey of removing the background from your logo giving you an opaque logo with all its mystique intact.

Pick Right Software
Choosing which software to work with is an integral aspect of this process. Most designers opt for these two popular softwares: Adobe Photoshop and GIMP (GNU Image Manipulation Program). There are key selection manipulation features introduced by these software programs that allow users to meticulously craft logos to render them ready for print design. You must have installed a version of either of those software on your computer before even getting started with the steps involved in removing the ground colors.
Open Logo Image
Once you have chosen the right software, launch them and point towards your desired logo image file. To maintain its quality throughout the editing set up, choose a high-resolution font size given the nature of the logo you intend to work on. Again, consider making a duplicate of the logo file so that you may carefully edit to keep the integrity of the original.
Pick the Logo
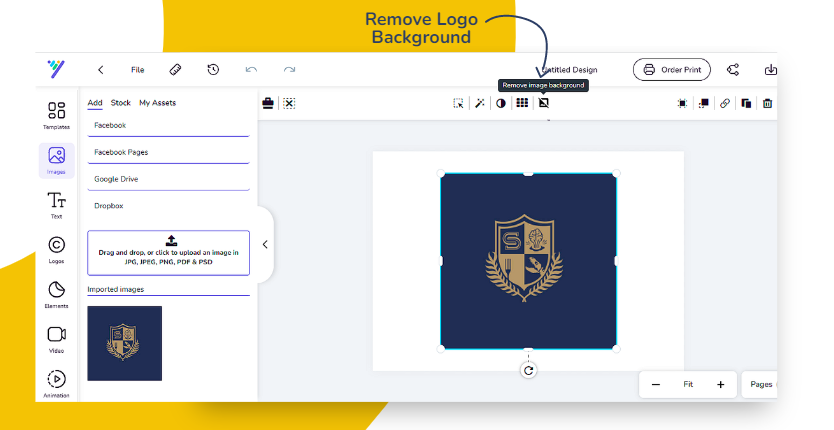
The next step is to isolate your logo from its background. Most graphic design software provides you with a variety of selection tools to do so. Most popularly used tools include the Magic Wand, Lasso, and Pen Tool. Start by selecting one tool that suits your level of expertise and understanding of how to operate it. Carefully encircle around the edges of the logo, making sure that the boundary constructed encompasses the complete entity of the logo while excluding any unwanted entities from the background.
![]()
Refine the Selection
To achieve a seamless transition between the logo and the background, it is crucial to refine your selection. Most software applications offer tools such as Feather or Refine Edge to assist in this process. By utilizing these tools, you can smoothen the edges of your selection, resulting in a more natural and polished appearance. Take the time to experiment with different settings to find the optimal configuration that best suits your logo.
Remove the Background
With a refined selection in place, it’s time to remove the background from your logo. In Adobe Photoshop, you can simply press the “Delete” key to erase the selected area. If you’re using GIMP, the “Clear” command will serve the same purpose. As you remove the background, you will witness your logo emerge on a transparent canvas, ready for integration into a multitude of designs and mediums.
Fine-tune and Save
After getting rid of background, there might be some fine-tuning required to attain an absolute matching result with any text/text content inserted in your logo. So, zoom in into the image. If needed, then just carefully inspect edges of parts that were supposed to contain no pixel at all forget about lumps along borders. By employing erasing tools or cloning processes, get rid of remaining artifacts and earn a clean, professional appearance. And after completing this process, save your logo in a transparent PNG file format. The format overcomes blending problems resulting in seamless incorporation into several designs.
Through this step-by-step guide, you have gained expertise and knowledge required to remove background from logo files. With practice, learning, experimenting, mastery is all yours.